
Buying guides
Buying marker paper: bleed-through, surfaces and usable sheets
Choose paper for marker work by the maker’s medium suitability, working surface, sheet format and how you will use each side.
Published Information checked
Marker paper is part of the drawing system, not just a place to put colour. The type of marker, the amount of layering and the intended presentation all affect the choice. Read the paper’s stated suitability for your medium and plan a small test rather than judging only by thickness or a glossy cover photograph.
Identify the marker type first
Record the exact marker range and the paper recommendations supplied by its maker. Alcohol-based, water-based and other ink systems are not interchangeable descriptions. If a paper listing says it suits markers, look for enough detail to understand the intended use. Ask when the wording is vague, especially if the project needs extensive blending or will be scanned for reproduction.
Count usable drawing surfaces
A sheet count does not necessarily mean you will use both sides. Plan for the way your markers behave on the chosen paper and follow the product instructions. In a sketchbook, consider whether completed pages will affect the following ones, and whether an appropriate protective sheet is needed while working. Treat that as a practical test rather than a universal promise of no bleed-through.
Choose the format for the finished work
Loose sheets are easy to scan individually but need storage. A pad or book can be convenient for development work, provided the binding and size suit the drawing. Check whether sheets are removable, how they are bound and whether the listed dimensions refer to a usable sheet. The cover dimensions alone do not establish the final drawing area.
Test the scanning step as well
If marker drawings will be digitised, include scanning or photography in the paper trial. Make a pale area, a dense area and a fine outline using the actual markers, then capture the result through the normal workflow. Inspect whether the paper texture or reverse-side marks distract from the intended image. This is a comparison of your process, not a claim that a particular paper guarantees reproduction quality. Keep the test sheet with the material reference so that the same setup can be repeated for the final series.
A worked shopping example
A designer needs a dozen colour studies to scan and send to a client. Compare two papers using the same marker sequence, including an area with several layers and a line of fine detail. Inspect the reverse, the next sheet and the scanned result. Select the paper that supports the actual process, then calculate the pack requirement from usable drawings rather than assuming that every side will be used.
Details to compare side by side
| Detail | What to record | Why it changes the choice |
|---|---|---|
| Medium | Marker type and maker’s paper guidance | Keeps the paper choice tied to the actual ink system |
| Usable surfaces | Planned one-sided or two-sided work | Makes the sheet-count comparison realistic |
| Presentation | Loose, removable or bound sheets | Determines how easily drawings can be scanned and stored |
Before placing the order
- Match the paper description to the exact marker ink system and intended amount of layering.
- Check removable-sheet details, binding and usable dimensions if the drawings must be scanned or presented separately.
- Allow spare sheets for trials and inspect the complete drawing process before committing to the final artwork.
Making a project involves a chain of choices. The material, tool and instructions should work together, and the quantity should cover the actual project rather than the smallest advertised pack. Keep an offcut, swatch or label when possible so that you can identify what worked when ordering again. A small trial is often more informative than a larger assortment.
Will a heavier paper always stop marker bleed-through?
Weight alone does not tell you how a paper will behave with a particular ink and amount of layering. Surface treatment and the intended medium also matter. Use the manufacturer’s guidance and a test sheet. If protecting the next page is essential, plan that protection as part of the working method rather than relying on a broad marketing description.
Find relevant specialist shops
Use the profiles for Jackson’s Art, London Graphic Centre, Cowling & Wilcox to reach their official websites and check the exact listing. These are relevant places to explore, rather than a claim that every shop has the same item in stock. Browse the wider arts & crafts directory for more specialists.
Examples to inspect
For a specific example of the details discussed here, explore Winsor & Newton Promarker — Assorted Wallet of 24. These product notes identify the model or format and link to official listings; they are examples to compare, rather than a claim that one option suits every buyer.
Sources and checks
Products mentioned in this guide
PRODUCT
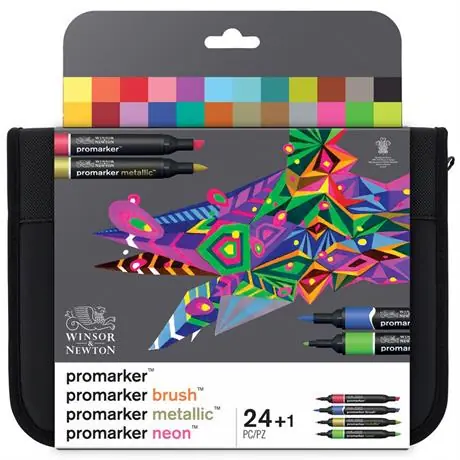
Winsor & Newton Promarker — Assorted Wallet of 24
A mixed 24-marker wallet containing classic, Brush, Metallic and Neon pens. Compare the included marker types and ink systems before ordering.
Retailer profiles: Pullingers
View product detailsContinue reading
Buying guides
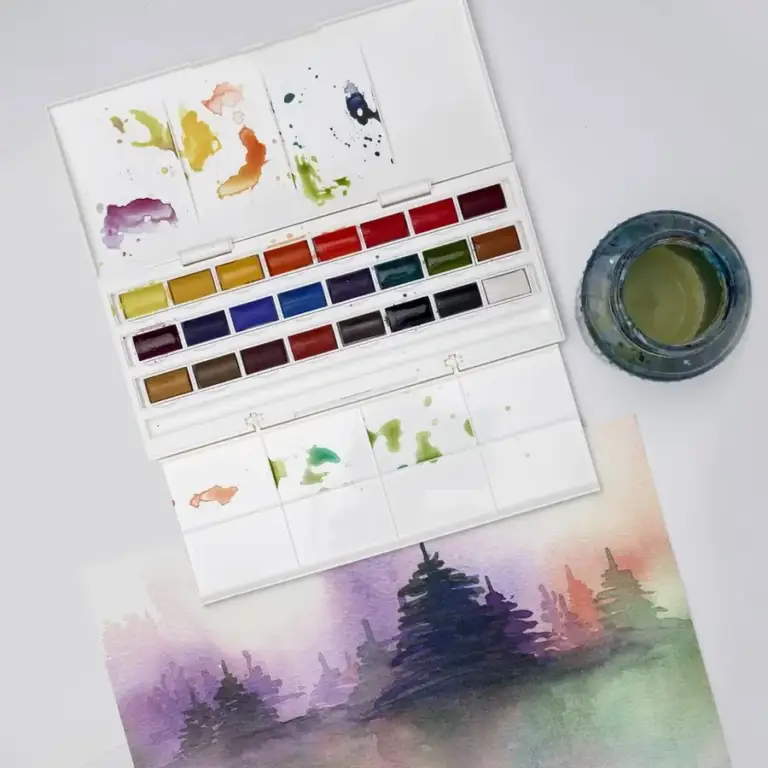
Choosing watercolour paper: fibre, texture and weight
Choose watercolour paper by fibre, texture, sheet size and painting method, with a practical comparison of pads, blocks and loose sheets.
Read the guide
Buying guides
Choosing a sketchbook: paper, binding and working position
Compare sketchbook paper, binding, usable size and portability for drawing at a desk, outdoors or while travelling.
Read the guide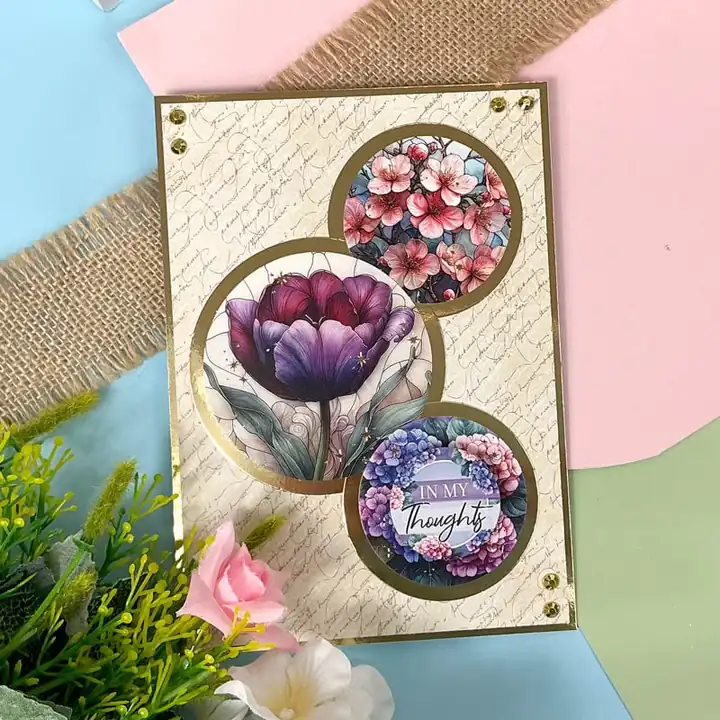
Buying guides
Buying cardstock: weight, size and the finished fold
Choose cardstock for cards and paper projects by finished dimensions, sheet format, surface and the way it will be folded or printed.
Read the guideEXPLORE THE DIRECTORY
Related shop profiles

Jackson’s Art
Jackson’s Art offers a deep range of painting, drawing and printmaking materials, including its own-brand supplies. It suits artists comparing precise pigments, papers and tools rather than choosing mainly by the size of a starter set.

London Graphic Centre
London Graphic Centre brings artist materials, design supplies and distinctive stationery together with its Covent Garden shop. It suits mixed creative baskets, from drawing and presentation materials to pens, notebooks and practical studio essentials.
Cowling & Wilcox
Cowling & Wilcox supplies painting, drawing and other artist materials through its online shop. Compare exact product ranges and sizes, with particular attention to delivery for larger surfaces and the documented returns process.